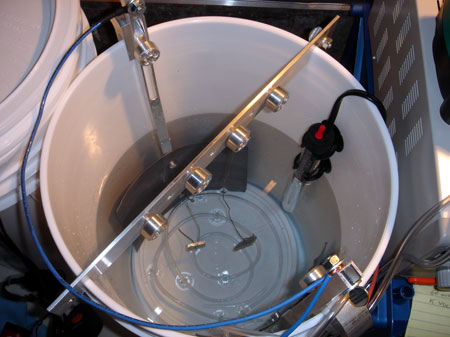
Things seem to fit together okay. I had a bit of trouble getting my rectifier to work on Continuous Current mode. After messing with the knobs (as per the instructions) with no result, I was about to quit when the thing kicked on CC and showed an amperage.
These chips were run at:
(1.9A/30 min)
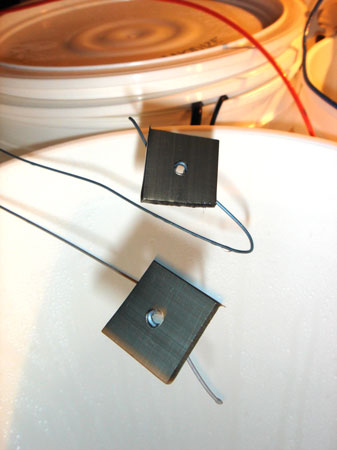
I realized this was a total screw up...but they anodized. So I read somewhere (can't remember exactly) that someone said to take into account the surface area of ALL aluminum in the tank...like your hanger wires and such. I could have sworn they mentioned this with respect to an aluminum cathode...but that makes no sense and I can't find it again.
So, I would expect the parts to be burned, but they seem fine.
I dyed the chips for 15 min. These are blue...really...well, the dye was blue. Maybe 15 min was a bit long. Next time I will try 3 chips and dye them for 5/10/15 and see how it comes out.
Immediately after I removed them from the dye, they looked very uneven and like they had not taken the dye well.
After sealing them in boiling nickel acetate solution I rinsed, patted dry and sprayed with WD40. You can see that my fears of poor dye absorption were unfounded.
"So Jason," you say. "You know what would be really funny? Pretend like you have some idea what you are doing and post it on the internet!" Now that is what I call a plan.
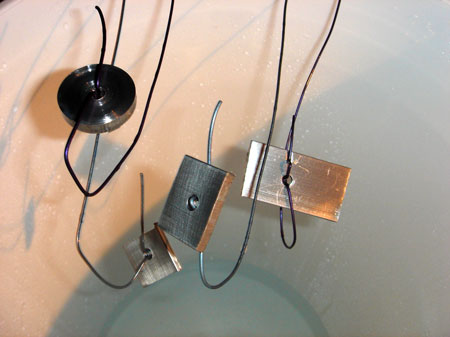
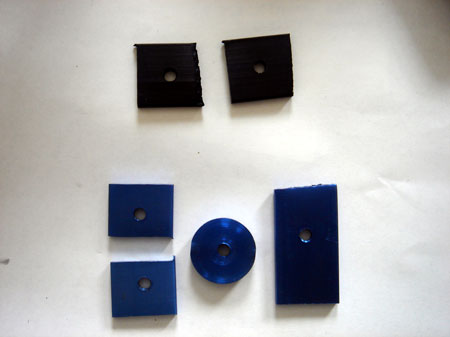
These chips are from my second test and post-anodizing. You can see they are "way" lighter than my first ones. I'm not exactly sure what "burned" is...but maybe it looks a lot like the first run?
They looked so light I wasn't sure these anodized at all, but I figured I'd try and dye them anyway. I ran these chips at 6 ASF/.42 A/30 min/.25mil...kinda.
Well, my rectifier really doesn't like continuous current mode. I couldn't get it to work. Continuous voltage, no problem, doesn't help ME much though. I finally set the voltage until I got between .4 and .5 amps on the meter. During the 30 min I ramped up the voltage as the current dropped and tried to maintain my .4 amps.
I wanted to test the dye time. I thought maybe I over dyed the first two chips. Not so, I fried them. They even have a weird sound when you hit them together. Can anyone tell me what I did to these things? High current should produce small pore size...which means the dye might not penetrate the anodized layer...clearly not the case here.
Anyway, I dipped the four new pieces in the dye for 5/10/15/20 minutes just to see how the time affects the color. It turns out...not a whole lot. At this point I would say color is much more dependent on the anodizing than they dye. The bottom left chip was in for 5 min. You can see it's a bit lighter. The others? Can't really tell the difference but I'm going to stick with 15 minutes for the time being. That's the round piece in the middle.
The next test I will experiment with the thickness of the anodized layer and try to run chips at .25/.50/.75/1 mil. Of course if I do them in the same bath, removing one will alter the current density...not a big problem if I could run in continuous current mode. I'm guessing a thicker layer will produce a darker color.