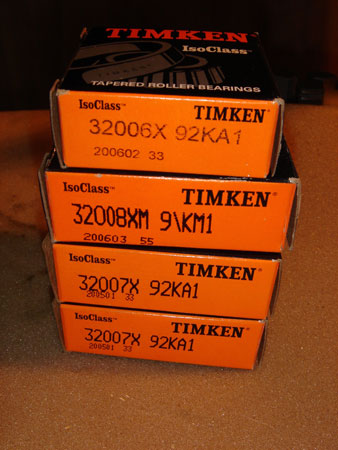
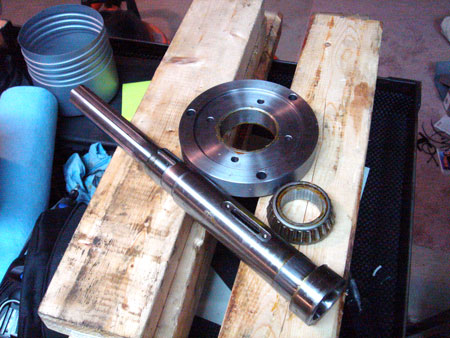
These are the Timken bearings I'll be installing. Not too hard but it does take some time and a couple specialized tools, like a bearing puller, are needed. I didn't have one so I took my spindle to the school shop and used theirs.
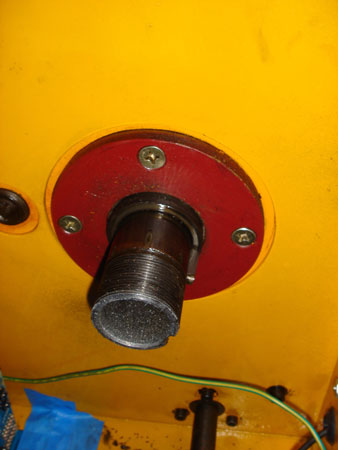
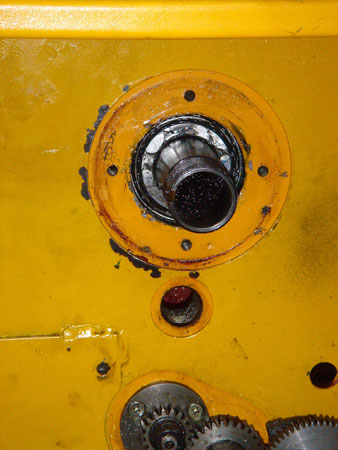
Let's not mess around. Get the pulley on the lathe off and you'll find this plate and 4 screws. Out with them and you are a smart hammer blow away from having the lathe spindle out.
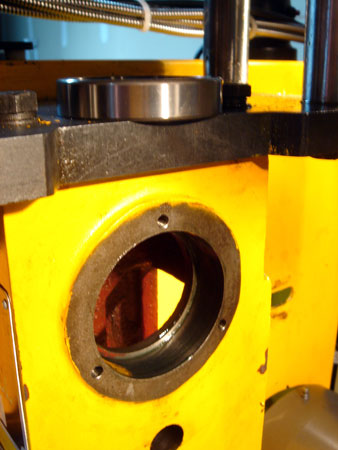
A few smart hammer blows later. I guess I should mention, don't forget to remove the bolts behind the late backplate or you will spend the rest of your life hammering the spindle.
The drive gear for the gearbox is pressed onto the shaft, lightly, and is held on by a key and snap ring. You'll need some snap ring pliers.
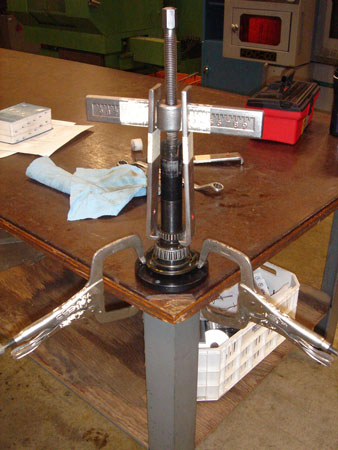
I didn't have a gear puller, so I used the one down at the school shop. The gear came off easy.
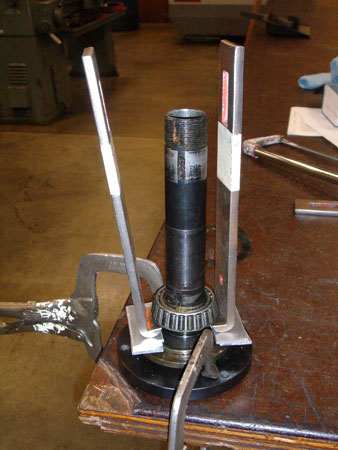
The actual bearing was a bit more tricky. The puller didn't have enough reach to get under the lip on the bearing...so...I set up the puller arms like this and levered them outward. The bearing scoots up a little bit and then slide in a 1/8" aluminum shim and lever again.
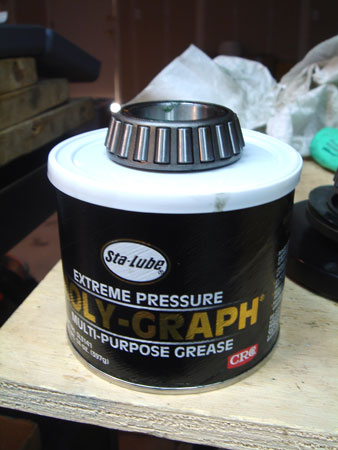
Time to pack some bearings. I used the old wad of grease in the palm trick. I was too messy to take any photos.
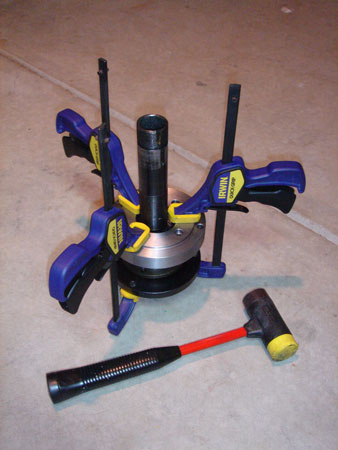
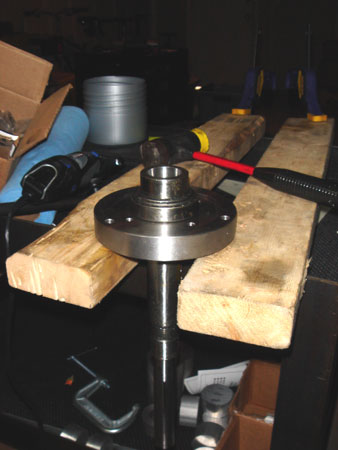
Right, so getting the new bearing on is a bit of an issue as well. The fit on this one is fairly snug. I didn't have any pipe of an appropriate diameter, so I came up with this.
I'm using the chuck mounting plate I made for my rotary table. Turns out the thru hole is "just" the right size to catch the lip of the bearing but not touch the cylinders.
Anyway, I'd tap the mounting plate and then snug the clamp and work my way around very lightly and slowly. Worked like a charm.
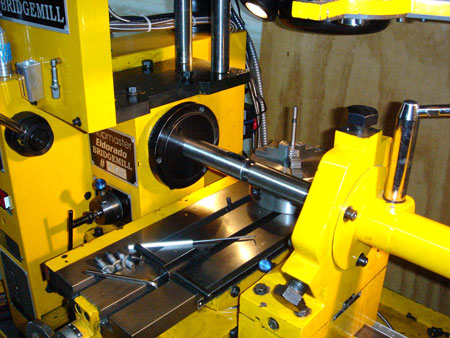
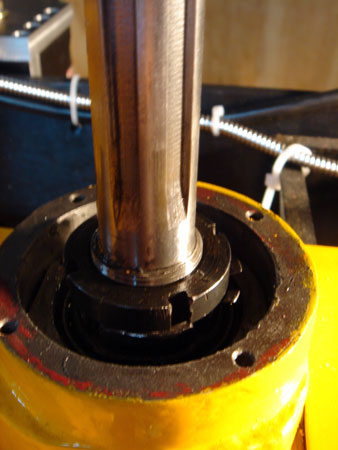
I popped the spindle back in place, but needed a way to hold it in a seated and square position. So, I put the MT3 adapter in the tailstock and ran it up against the face plate. That way I could tap the bearing onto the pulley end.
All set to put the pulley back on. I used a 3/4" delrin rod to tap the bearing onto the shaft on this end.
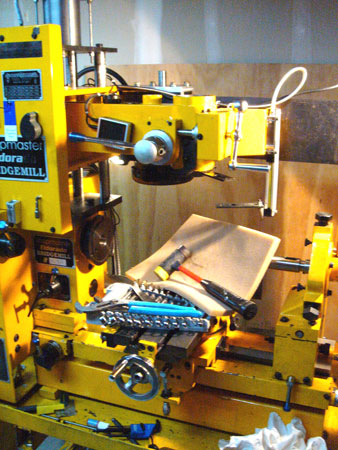
Well, now we are half way there. Time to knock out the mill spindle. Remove the pulley and the retaining plate on the top. Whack spindle with hammer till it drops out. This was pretty easy. Be sure to put some padding on the table to catch the spindle when it fall. Or you can have a friend catch, if you have one handy.
I used the rotary table mounting plate again to tap the bearing off the shaft.
...and the reverse to get it back on.
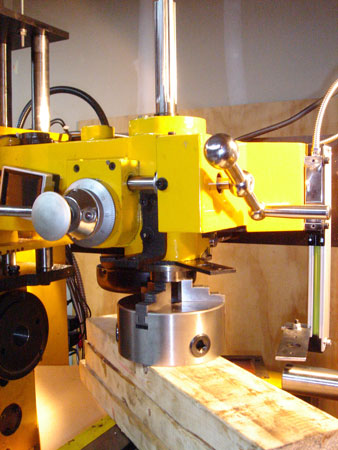
Some 2x4's under the three jaw chuck. I lowered the mill head onto the jaws of the chuck to support the spindle in place while I tapped to top bearing in.
Put the lock nuts back on, put the pulley back on and we are done! How about pre-load? I have no idea, I just worked the lock nuts till it felt right. Running the mill or lathe for an extended period produces some heat, but not so much you can't touch it. Seems okay for now.