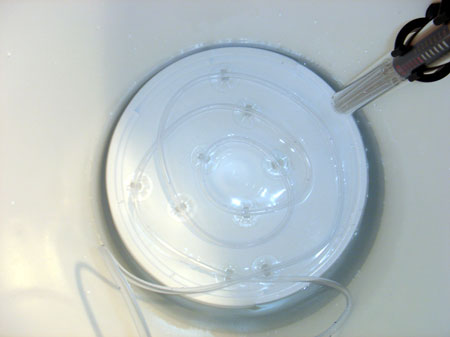
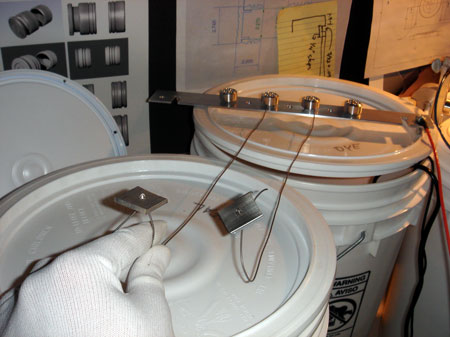
Well I was having a bit of trouble figuring out what to do with my aeration tube. A length of tubing was used to test the "bubble quality" and discovered flexing the tube made a big difference in how the bubbles flowed.
This meant that if I wanted good holes, I would have to make them "after" I had secured the tube in my desired configuration of curves. As you can see I took a small bucket lid and used some aquarium cups/brackets to hold the tubing down.
It also seemed important to have good coverage over the entire bottom, so I drilled holes with a 1/16 bit once I had the tubing secured, which allowed me to space the holes relatively evenly.
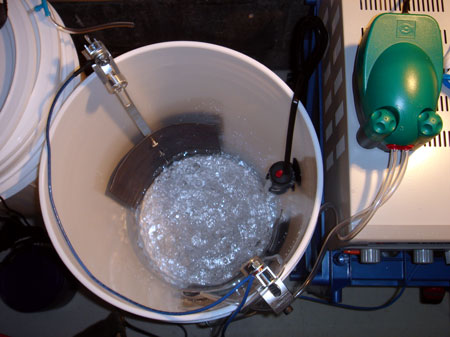
I dropped the lid into the bottom of the main bucket and routed the tubes behind the front cathode. You can see the aquarium pump (green bug looking thingy) in the top right. It has flow control and two air outlets.
A single tube is used and both ends are plugged into the pump. To my surprise it worked better than I hoped. The coverage is very even and air seems to be coming out of all the holes.
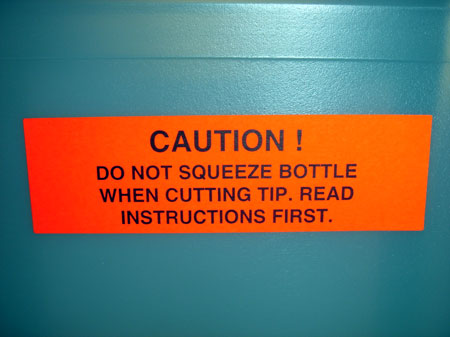
This label is found on the actual battery acid container. Good advice right? I even went to look for the directions in case capped containter technology had made any significant advancements since I last poured liquid. To my surprise there were no instructions of any kind on the inside or outside of the box! Despite being under educated I proceeded with the pouring.
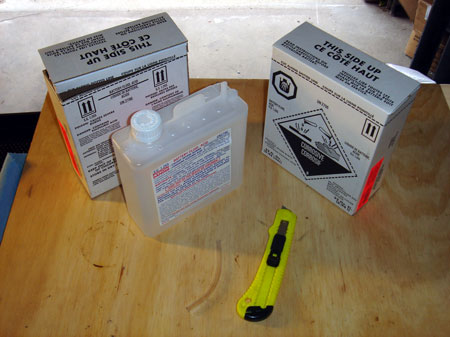
Now it's time to commit. I opened the boxes of battery acid and dumped a gallon (4 boxes) into three gallons of distilled water.
These are going to be my first test pieces!...