So instead of partially trimming a strip of the lead cathode to use as a hanger, I decided it would be ideal if I could easily control the depth of the cathode. This necessitated building a bracket.
My main concern, which I have no idea about, is if the aluminum channel will be a bad idea. Since it's submerged it will also be anodized and may have some adverse effect. I think the electrical continuity will be fine, but maybe a problem when the anodized layer experiences dissolution.
I decided to press on blindly. First up was to drill some holes to mount the lead sheet to the Al channel. I'm hoping it's 6061.
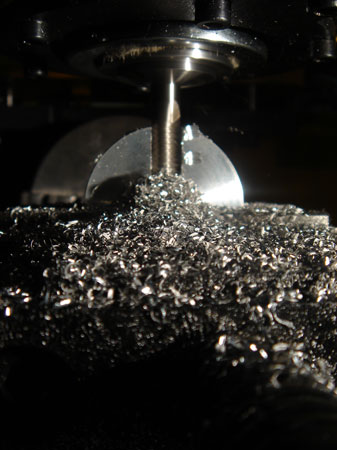
Next I milled some slots for the vertical adjustment knobs. This opperation was a bit dicey on the clamping and hence the finish.
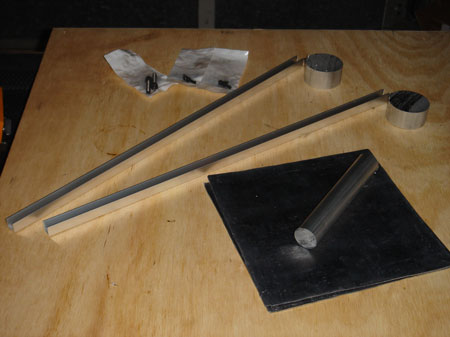
All I had was some one inch stock, so I turned it down to .375".
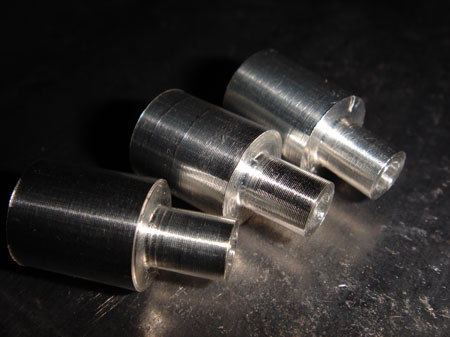
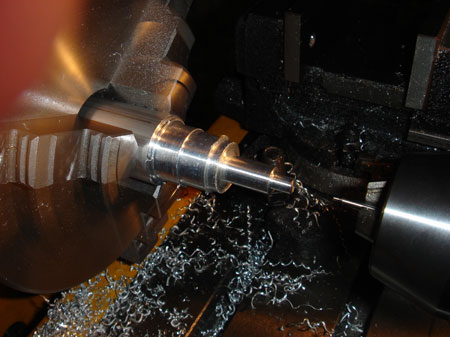
The smaller dia. is .220" and you can see I drilled them out with a .125" hole. My intial thought was to use these like rivets and insert the larger dia. into the channel. I made them even with the depth of the channel so I could buck them up against something when expanding the nose.
I decided the "rivet" was going to be a bad idea, and just opted to turn these into screws. Fortunately this actually helped as I had more to grip in this setup.
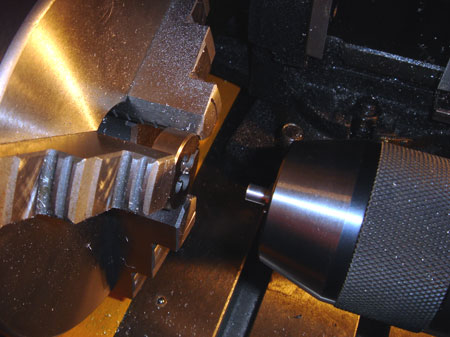
The knobs I made for the hanger didn't thread as straight as I would have liked so I came up with this. I clamped the die "lightly" in the chuck and put the screw head into the drill chuck on the tailstock. I then turned the chuck by hand, without seating the MT, and the threads came out great.
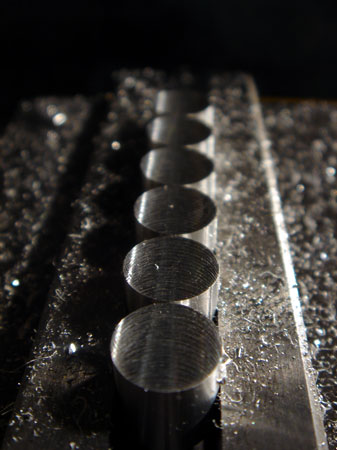
I gang milled them down to the same size.
While still clamped in the vise, I slotted them all with a .125" endmil . It's the smallest I have.
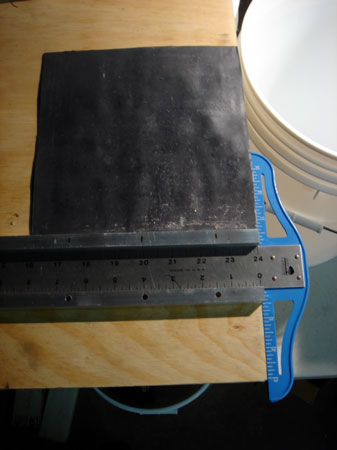
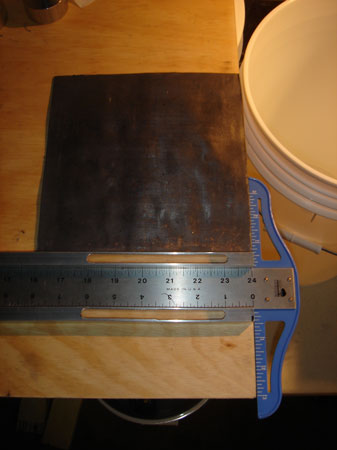
Next up was milling my 2 x 1 inch rounds to hold the C-channel bracket and mount on the bucket lip. I used a 3 flute 3/8" roughing mill and went down to the center.
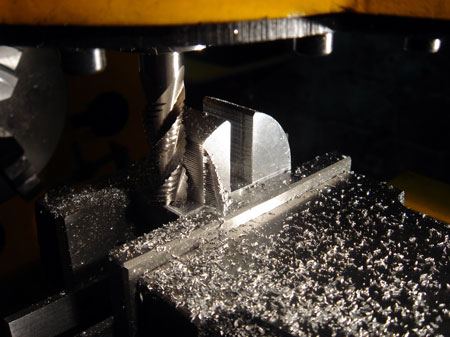
Next I cut a flat on one end for the clamping screw. I cut out a lot because I wanted to turn the screw by hand and it was easy to measure the depth of cut. I just located the edge with the spinning endmill, set my DRO to .375 on the Y axis and milled it down till it read 0.
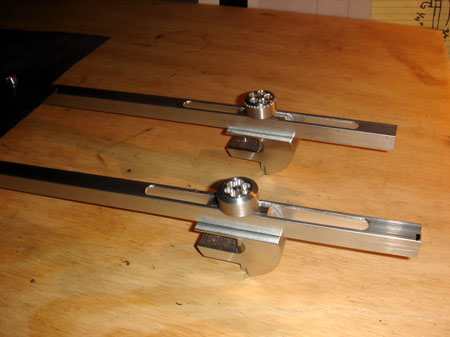
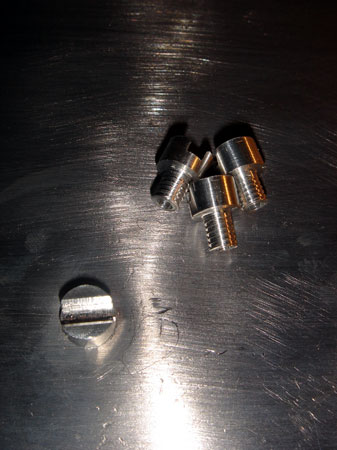
They actually came out pretty well and things seem to fit. Not much accuracy required here.
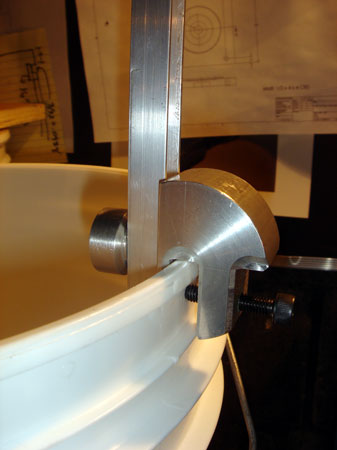
The mounting screw actually levers the bracket towards the inside of the bucket, away from my hanging parts. Turning it by hand is sufficient.
I read a few posts on the anodizing 101 Yahoo Group that said they had problems with the cathode drifting away from the sides of the bucket and interfering with the anodizing process.
My guess is that the agitation bubbles moving through the fluid create a zone of low pressure which draws the cathodes towards the center. Kind of like when your shower curtain attacks you.
This was my main motivation for this setup...and the depth control.
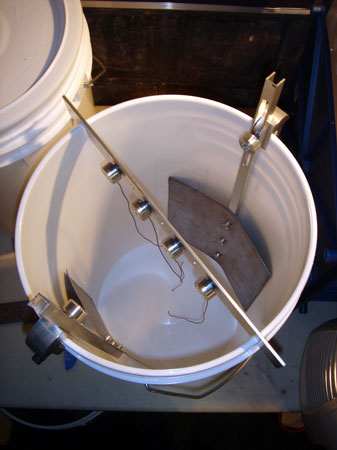
Well, that's pretty much it. I will bend the cathodes to better match the curve of the bucket later. I had to take all the parts and my buckets home to get them washed up. I don't want to inroduce any foreign gunk right off the bat.
So, can anyone tell me if this will lead to faliure? My main concern is messing up the chemistry by having the C-channel in the bath all the time and going beyond PAR.
I haven't decided where/how to attach the actual wires yet. Right now the two options are aligator clips to the C-channel tops or another screw fixture on the actual mounting bracket. I thoguht this might be more streamlined.